Nic On Lumix
Lumix Superia (Look)
Nail the 90’s Fujifilm street photography look straight out of camera!
Digital sensors are technical marvels. They capture dynamic range and color fidelity that photographers in the film era could only dream of possessing. However, that clinical perfection often lacks soul. We spend hours in post production trying to add character back into our images because we miss the imperfections that made film so special.
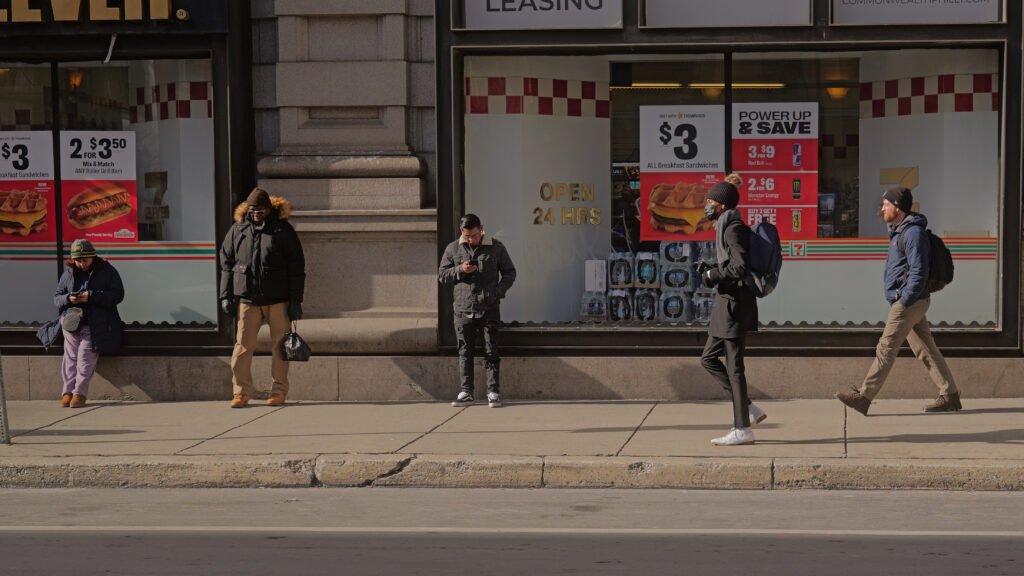
I have been obsessed with recreating the specific energy of late 1990s street photography. I wanted to capture that high contrast, slightly dirty, and incredibly vibrant look defined by consumer film stocks like Fujifilm Superia 800. This stock was famous for its mood. It featured distinct green shadows, vibrant chemical reds, and a gritty curve that defined an entire era of urban candid photography.
I finally cracked the code in camera on my Lumix S5IIX. The secret is not a single filter but a specific combination of my color tools. I call it the Lumix Superia recipe.
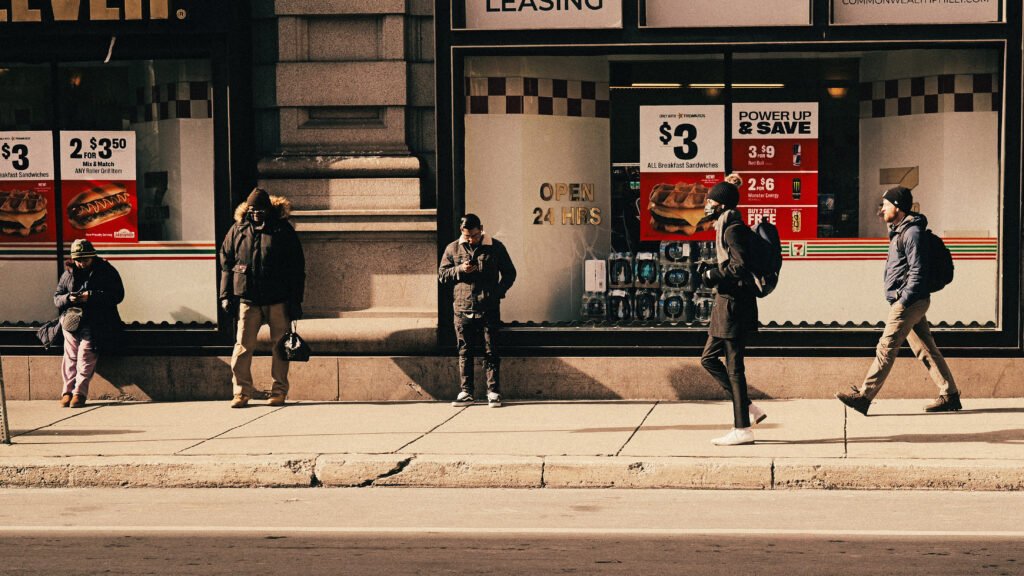
The magic happens in the blend between two distinct looks. The Panama LUT does the heavy lifting in the shadows. It lifts the black point to create a matte finish, ensuring the blacks are never truly digital zero but rather a dense and cinematic gray. Crucially, it washes the darker tones in a deep green and cyan hue. This mimics the characteristic color shift found in Fujifilm stocks when shot under fluorescent or mixed city lighting.
While Panama cools the shadows down, the Autumn LUT floods the highlights with warmth. It aggressively boosts the red and orange channels. This push and pull creates a complex split tone effect. The shadows remain moody and green, but the highlights become rich and golden.
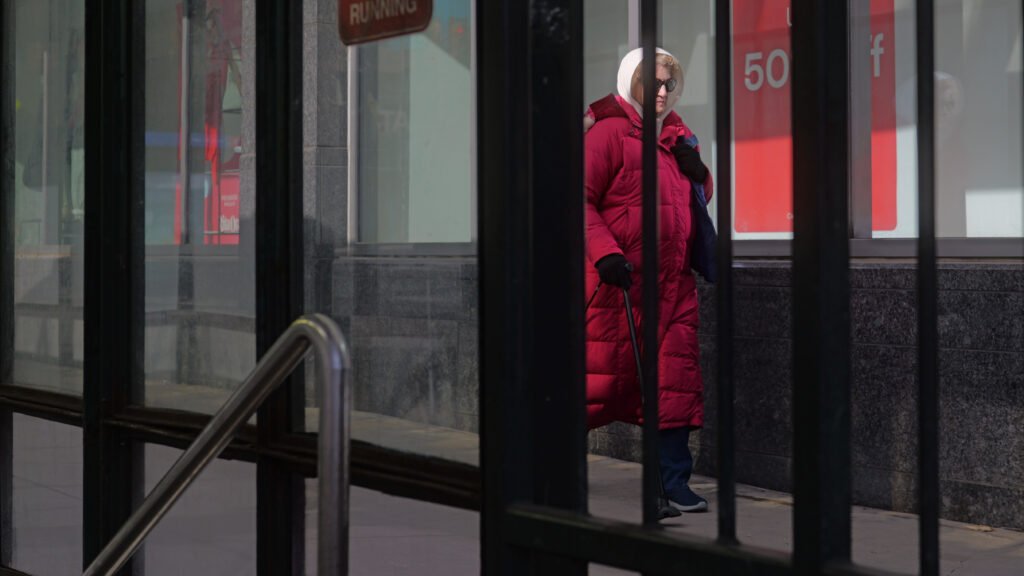
The result is a look that feels physically textured. The reds in the frame, like a neon sign or a winter jacket, become deep and scarlet rather than bright and digital. Skin tones remain healthy and golden but sit distinctly apart from the green cast of the environment.
This recipe is my new favorite setting for street photography. It turns flat lighting into moody atmosphere and gives your work a timeless narrative quality that feels like a memory.
Here are practical recommendations for getting the most out of your Lumix Superia recipe in the field. Since this look mimics a specific high speed film stock, you should shoot with the same mindset as a photographer using actual Fujifilm Superia 800.
1. Hunt for Bad Light
Modern digital sensors crave golden hour, but this recipe thrives in “ugly” light.
Overcast Days: This is the ideal scenario. The Panama component adds the contrast that flat light lacks, and the Autumn component adds the warmth that the clouds block out.
Fluorescent & Night: The green shadow cast blends perfectly with ugly street lighting. Instead of fighting the green tint of sodium vapor or fluorescent lights, this recipe embraces it for a cohesive mood.
2. The “Red Object” Rule
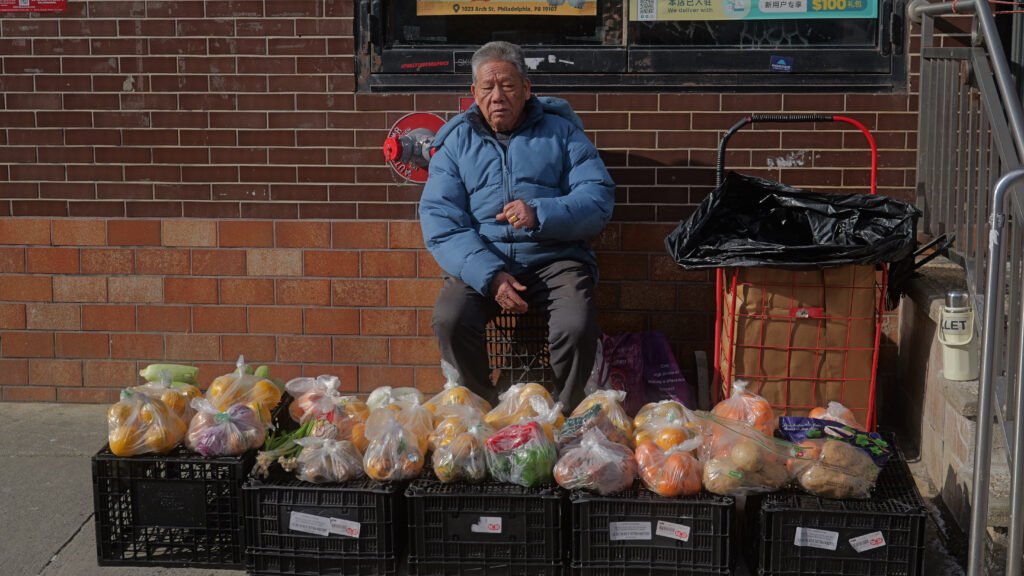
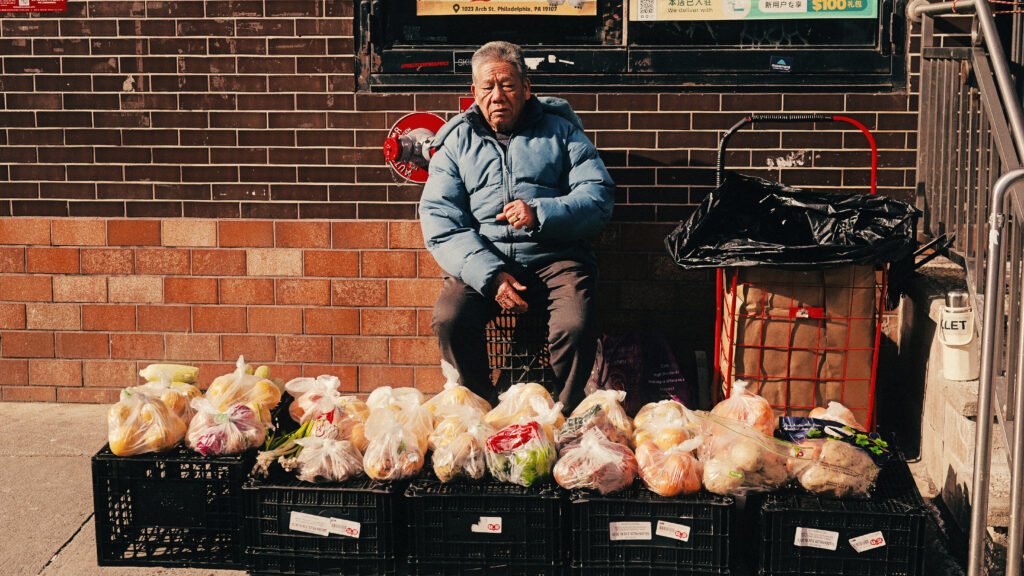
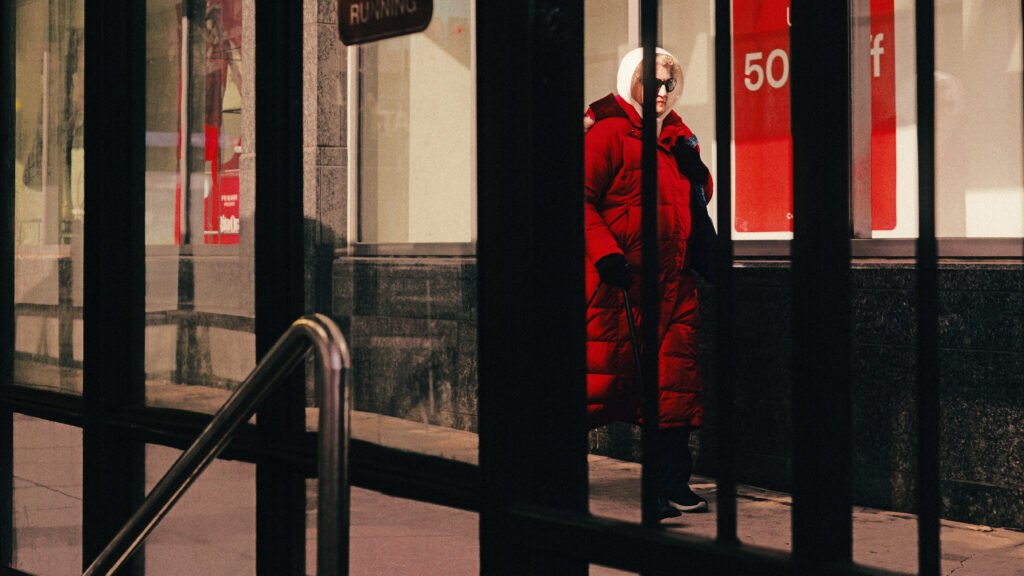
The defining characteristic of the Superia look is how it renders reds. It turns them into a deep and chemical scarlet hue.
Composition Tip: Actively look for red subjects to anchor your frame. A red stop sign, a taillight, a winter coat, or a brick wall will pop aggressively against the green cast of the shadows. This color contrast creates instant depth.
3. Exposure Strategy: Feed the Shadows
This recipe utilizes a “lifted” black point, meaning it takes your darkest pixels and turns them gray.
Do Not Underexpose: If you underexpose your image, the LUT will try to lift purely black pixels into gray, which introduces digital noise and artifacts.
Expose to the Right (ETTR): Aim to overexpose your image slightly (by 0.5 to 1 stop). This ensures your shadows have plenty of data. When the LUT lifts them, they will look creamy and matte rather than noisy and digital.
4. Be Mindful of your White Balance.
Set and lock your white balance to keep a consistent look across your shots. I shot these in the middle of the day with a warm white balance.
4. Try Different Grain Amounts
The final layer of this look is the grain. The examples here have minimal grain added. You can dial it up in the Lumix Lab app or increase the grain in camera to get as grungy as you’d like with your final image.
Settings:
Profile: Standard
White Balance: AWBc
iDynamic: High
Grain: Low
Color Noise: Off
LUT 1: Panama 50% Opacity
LUT 2: Autumn 70% Opacity
For a Fincher-Inspired movie look, try my Thriller LUT